
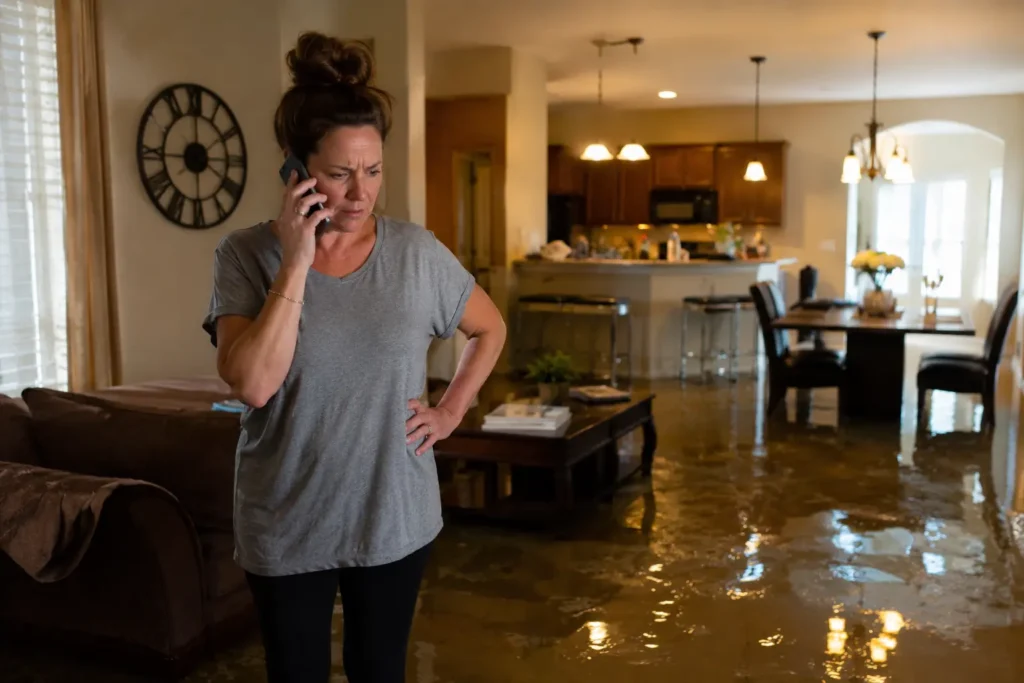
Water does not wait – and neither can you. Whether it is a burst pipe at 2 AM, a washing machine that overflowed while you were at work, or a sudden storm that pushed water into your basement, the clock starts ticking the moment damage begins.
Most homeowners make the mistake of thinking they have a day or two to figure things out. The truth is, the decisions you make in the first 24 hours after emergency water damage directly determine how bad the final repair bill will be – and whether your insurance claim holds up.
This guide walks you through every critical step, in the right order, so you do not waste time when it matters most.
Why the First 24 Hours Are Everything
Water is deceptively fast. Within minutes of entering your home, it begins soaking into drywall, flooring, wood framing, and insulation. What looks like surface dampness on the outside is often complete saturation inside the wall cavity.
Here is what the timeline looks like if you do nothing:
- Within 1–2 hours – Drywall softens, flooring begins to buckle, furniture starts absorbing water at the legs
- Within 4–6 hours – Wood subfloor begins to swell, wallpaper peels, paint blisters
- Within 24 hours – Mold spores begin settling onto wet surfaces and colonizing
- Within 48–72 hours – Active mold growth visible, structural components start to weaken
That jump from a $3,000 water extraction job to a $15,000 full remediation? It almost always comes down to how fast the homeowner responded in those first 24 hours.
Step 1 – Stop the Source and Cut the Power
Before anything else – do not grab a mop. Do not move furniture. Your first two actions are source control and electrical safety.
Shut Off the Water
If the damage is from a burst pipe, appliance leak, or broken supply line, locate your main water shutoff valve and close it immediately. In most homes it is near the water meter, in the basement, or in a utility closet. If you cannot find it, call your municipal water provider – they can shut it from the street.
Kill the Electricity to Affected Areas
Water and live electricity in the same space is a life-threatening combination. If water has reached any outlets, plugged-in appliances, or is near your electrical panel – do not walk into that space. Call your utility company or a licensed electrician before re-entering.
Step 2 – Know What Kind of Water You Are Dealing With
Not all water damage is treated the same way. Category matters – both for your safety and for how restoration crews will approach the job.
- Category 1 – Clean water from a supply line, faucet, or rain. Safest to handle in early stages.
- Category 2 – Grey water from appliances, dishwashers, or HVAC condensation. Contains mild contaminants – wear gloves.
- Category 3 – Black water from sewage backups, toilet overflows, or outdoor flooding. Highly hazardous. Do not enter without full protective gear. Call professionals immediately.
If you are dealing with Category 3 – stop reading and call an emergency water damage restoration team right now. That situation requires professional equipment and biohazard protocols, not DIY cleanup.
Step 3 – Document Everything Before You Touch It
This step saves your insurance claim. Before you move a single item, take full documentation of the damage.
- Photograph every affected room from multiple angles
- Take close-up shots of waterlines on walls, saturated floors, warped baseboards
- Record a walkaround video narrating what happened and what you see
- Note the exact time you discovered the damage
Send those photos to yourself via email immediately – this creates a timestamped record that is independent of your phone’s camera roll. Then call your homeowner’s insurance company to open a claim. Most policies require notification within 24–48 hours of discovery. Missing that window gives insurers grounds to reduce or reject your payout.
Step 4 – Extract Standing Water as Fast as Possible
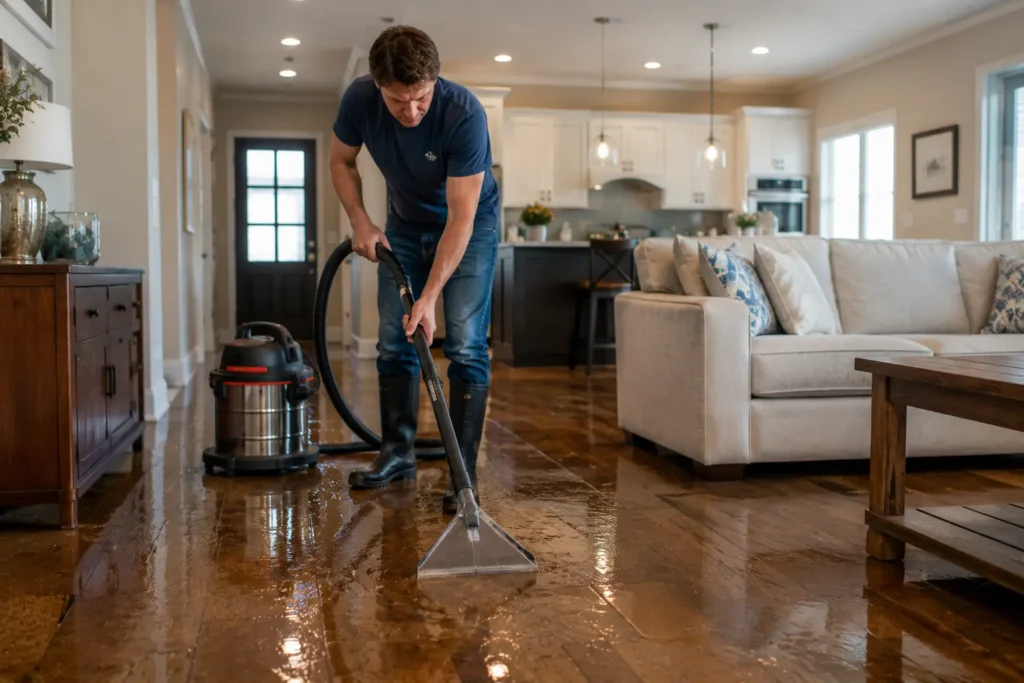
Every minute of standing water contact causes exponential additional damage. Begin removal as quickly as possible once documentation is complete.
- Use a wet/dry shop vacuum for shallow water on hard floors
- For anything over one inch deep – rent a submersible pump from a hardware store
- Lift carpets immediately and remove the padding entirely – saturated carpet padding is almost never salvageable and becomes a mold incubator within hours. Our carpet water extraction service uses industrial-grade equipment to pull moisture from carpet fibers that shop vacuums simply cannot reach
- Move furniture completely out of wet areas – place foil or plastic under any pieces that must stay temporarily
Do not use a regular household vacuum on standing water. It is both ineffective and an electrocution risk.
Step 5 – Set Up Drying – Aggressively
Extraction removes the bulk water. Drying removes what is left inside the materials – and that part is harder than most people expect.
- Open windows and doors if outdoor humidity is lower than indoor (typically early morning)
- Run every fan you own across wet surfaces – point them at walls, not just floors, since moisture wicks upward fast
- Remove baseboards along wet walls – this is standard procedure, not overkill – baseboards trap moisture against the base of drywall and create hidden mold zones
- Run a dehumidifier continuously – note that a single residential dehumidifier pulls maybe 2–3 gallons per day, which is far less than what a serious water event demands
For reference, the industrial equipment used by professional restoration crews pulls 30–50 gallons of moisture from the air per day. That gap in capacity is significant – your equipment buys time, it does not solve the problem on its own.
Step 6 – Basement Water Damage Needs Immediate Attention
If your emergency event happened in the basement – or water has migrated down into the lower level – this deserves its own focus. Basements are the single most dangerous area for water to sit unaddressed because moisture has nowhere to evaporate to. Concrete absorbs water slowly but releases it even slower, keeping humidity dangerously high for days after the visible water is gone.
Our basement damage restoration service covers complete moisture extraction, structural drying, mold prevention treatment, and final repairs to floors, walls, and finishes – everything a basement flood requires from start to finish.
Step 7 – Call a Professional Restoration Company Within 12 Hours
DIY efforts in the early hours are valuable for containing spread. They are not a substitute for certified restoration work. By hour 12, professionals need to be on site.
What certified crews bring that you cannot replicate at home:
- Moisture meters that read saturation levels inside walls without cutting them open
- Thermal imaging cameras revealing hidden wet pockets behind drywall
- Industrial air movers and desiccant dehumidifiers calibrated to your home’s square footage
- Antimicrobial treatment applied before mold can establish – this is the step most DIY cleanups skip
- Detailed documentation for your insurance adjuster – this paperwork alone often pays for the service call
If you are in Illinois and dealing with a flooding emergency, the team at Peoria water damage restoration handles emergency response across Central Illinois – 24 hours a day, 7 days a week. Fast response in the region means the difference between drying a home and gutting it.
Do not let the damage look minor fool you. The worst water damage jobs – the ones that end in five-figure repair bills – are almost always cases where the homeowner waited two or three days because the surface appeared dry. Moisture inside walls and under subfloors does not evaporate on its own. It festers.
For Dallas homeowners, help is one call away. Reach our emergency response team any time – day or night – at (214) 894-2595. We arrive fast, assess the full extent of damage, and get the drying process started before the situation gets worse.
What Not to Do in the First 24 Hours
Equally important is knowing what makes the situation worse:
- Do not run your HVAC system to dry the space – it spreads mold spores through every duct in your home
- Do not discard damaged belongings before your adjuster has seen them
- Do not paint over stained walls or ceilings – this traps moisture and hides damage from inspectors
- Do not assume damage is limited to what is visible – the most expensive damage is always what you cannot see
- Do not wait to call your insurance company – even if you are still assessing the situation, call and open the claim immediately
The FEMA Standard for Water Damage Response
According to FEMA’s guidelines on flood recovery, wet materials in a home should begin the drying process within 24–48 hours to prevent mold colonization. Their recommendation aligns directly with what restoration professionals see on the ground – delay is the primary driver of escalating damage costs. You can review FEMA’s official guidance at fema.gov/flood-insurance.
Your 24-Hour Action Checklist
- Water source stopped and power isolated in affected areas
- All damage photographed and video documented
- Insurance company notified and claim opened
- Standing water fully extracted
- Wet carpet padding removed and disposed
- Furniture relocated out of wet zones
- Fans and dehumidifiers running continuously
- Baseboards removed along wet walls
- Professional emergency water damage restoration company called
One Last Thing
Speed is the variable you control. Everything else – how much water came in, where it went, what it touched – is already done. What happens next depends entirely on how fast you act.
If you want to understand how mold fits into this picture, read our post on how mold grows after water damage and how to prevent it – it explains exactly what happens when water damage goes unaddressed past that 24-hour window.
And if you are unsure whether your situation is covered, our does insurance cover water damage Dallas guide walks through exactly what policies typically include and what they exclude.
Act fast, document everything, get professionals in within 24 hours. That is the whole game.
call 214) 894-2595 now for best service.
Leave a Reply